When it comes to special effects, reverse reverbs are amongst the most useable processes there are. Although the method for creating these effects is often looked upon as complex, the right technique can lead to a transparent workflow and impressive end results. In this tutorial we’ll apply a reverse reverb effect to a vocal–a technique you might have heard used at the beginning of Justice’s ‘DVNO’.
Note: this article contains embedded audio that will not display in a feed reader. to read the tutorial with audio, or download the audio files at the bottom of the post.
Step 1
Choose the file you want to process and import it onto a fresh track in your DAW. It’s important to ensure this initial sound is reasonably dry and unprocessed. This way, any further processing will be easily distinguished and well defined. Make sure to trim any clicks or other artifacts from the start and end of the file, as again, this will ensure a cleaner end result.
dry_vocal.mp3
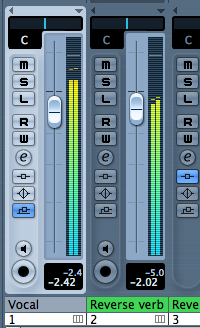
As you can see from the screenshots, I have used Cubase 4 here, but this technique can quite easily be repeated in other applications by using the same techniques.

Step 2
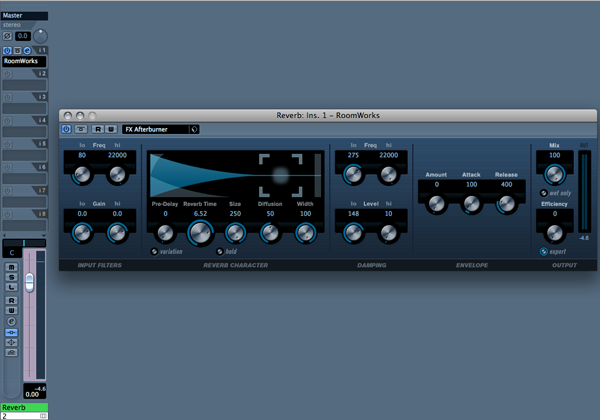
Insert a good quality reverb processor onto a return or buss channel in the same way as you would in a standard send/return configuration. I have used Steinberg’s ‘Roomworks’ plug-in here but any studio-quality reverb unit can be used.
Load a preset with a very long decay time and little to no damping. Of course, you can program the reverb yourself if you feel confident. As for as the parameters needed, you can afford to use something a little over the top here in every area. This is a special effect so don’t feel constricted by the usual rules of thumb you might apply.
Step 3
Send a large amount of signal from your chosen sound to this new reverb buss. To do this, simply use an auxiliary send and dial in a high gain amount. Again, feel free to use higher values than you would usually.
Be sure that you avoid clipping at any stage here so that you don’t introduce any unwanted digital distortion into the chain.

Step 4
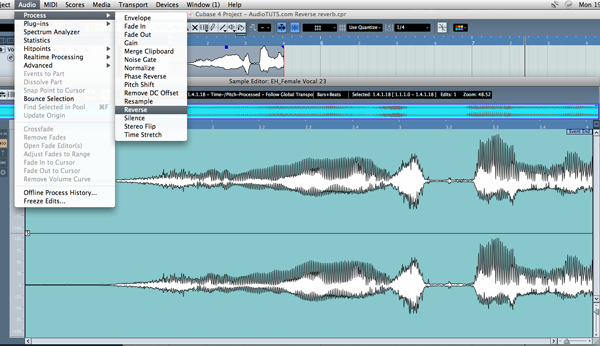
Reverse the sound you originally imported. This can be achieved directly in the arrange window of some DAWs (e.g. Steinberg’s Cubase, Apple Logic Pro, Ableton Live) or you may wish to use a standalone audio editing application.
It’s a sensible idea at this point to make a copy of your file so that you have quick access to both the edited and original versions. On playback you should now hear your reversed file being effected by the heavy reverb setting.
Step 5
The next step is to export or record the sound of the reverb alone. The method you use here will depend on the DAW you are using, but generally the routes available to you at this stage are very similar.
In most DAWs you are able to route a channel to ‘No output’ or ‘No Buss’. This essentially means the files are still playing back but the resulting output is not heard through you audio interface outputs. The aux sends from this channel will still work and therefore you should only hear the reverb from the effects return on playback.
You are now able to export the area as usual and the file will only contain the reverb signal.
reverb_only.mp3


Step 6
Now re-import this ‘reverb only’ file you have created into its own new audio channel. Playback the file to check that it contains only the audio you need and then name the new file and the track to keep things organised.

Step 7
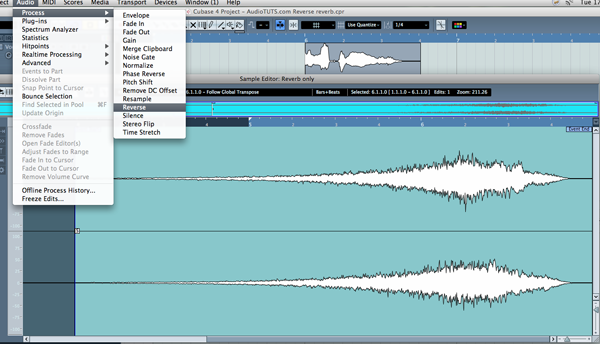
Again, reverse this file the way you did in step 4, using either the editing capabilities of your chosen DAW or an external audio editing application.
At this point you can also reverse the original audio file so it plays back as it did originally. This can be achieved using the method above or using the original or backed up audio file. On playing back the two channels individually you should now hear the original file and the reversed reverb.
reverse_reverb.mp3
Step 8
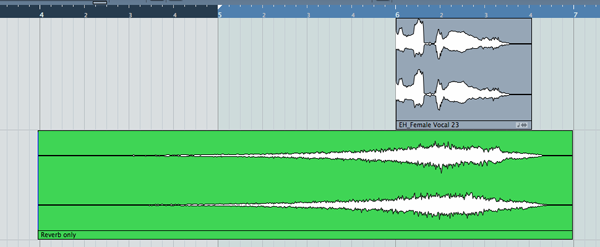
At this point you need to start thinking about making the two files work together so that they playback seamlessly in an organic way. The first obstacle here is their timing, so switch off any auto snap mode your sequencer may have and start to move the two files around.
You should be able to quickly find points in the reverb file that resemble points in the original sound. Using these as anchors you can line up the two files so that the rise of the reverse reverb leads into your original audio perfectly.
final_processed_vocal.mp3
Step 9
Once the placement of your audio is sorted you can start to fine tune things. Start by applying fades to the start and end points of all your files. This will ensure smooth playback of the whole sequence with no clicks and pops.

Step 10
Finally, use your DAW’s mixer to balance the level of the two files so that they compliment each other in your mix. Also, try adding a small amount of the reverb to the original audio file to give it some space and help it blend with the reverse effect. If you like, at this point you can bounce the whole sequence into one file to make things easier.
For some interesting results, why don’t you try processing the reverse reverb audio further with some auto pan or tremolo effects? You can even apply further delay to the reverse effect for a really spacey feel.
Listen to an example of this technique in use:
example_of_use.mp3
Download the Play Package for this post (11.2MB)
Contents:
- Printable PDF Tutorial
- Audio files
- Mo’s Cubase project

Comments :
Post a Comment